iPhone privacy settings: what you can improve today
You don’t have to switch phones to take your data seriously. iOS has more privacy options than most people use — but they’re not set correctly by default.
iPhone privacy settings
You don’t have to switch phones to take your data seriously. iOS has more privacy options than most people use — but they’re not set correctly by default.
This is not a theoretical guide. These are concrete settings, in iOS Settings menu order so you can work through them in a single session without jumping back and forth.
Coming from a stalking or domestic abuse situation? Do not treat this as a normal checklist. Sudden changes to location sharing, account access, or device management can escalate the situation or destroy evidence. Use the stalking profile first so you act in the right order and from a safe device.
Who this guide is for
This guide fits primarily:
- low-friction normal users with an iPhone
- balanced privacy-aware readers who want to configure their current device better without switching platforms immediately
For higher-risk situations, an iPhone can still be usable, but this guide becomes a base layer rather than the full answer.
This is step 3 in the normal baseline, after passwords and 2FA are already in place.
What you gain, and what it costs
If you go through these settings properly, you usually gain:
- less passive data collection by Apple and third-party apps
- better control over tracking, location, cloud exposure, and app permissions
- a clearer privacy baseline without changing phones
What it costs:
- one deliberate setup session
- some convenience features becoming less automatic
- accepting that iPhone hardening improves privacy, but does not turn iOS into a high-separation environment by itself
When this is overkill
If you only want the biggest improvements, you do not need every section in one sitting. Focus first on tracking, location, Safari, iCloud protections, and app permissions.
If your situation is higher-risk, especially around stalking, coercion, or targeted monitoring, this guide is not enough on its own. Then it becomes a baseline hardening pass, not the full plan.
1. Change your DNS resolver
Settings → Wi-Fi → [your network] → Configure DNS
Here you can, for example, set Quad9 as your resolver with 9.9.9.9 and 149.112.112.112.
Important nuance: this is not automatically encrypted “private DNS”. It mainly changes which resolver you use; it does not by itself guarantee encrypted DNS transport.
If you want encrypted DNS on iPhone, use a provider profile or app that sets up DNS over HTTPS or DNS over TLS. If you use a VPN, DNS will usually go through that VPN client. If you use iCloud Private Relay in Safari, Apple uses its own DNS path for that traffic.
2. iCloud: Enable Advanced Data Protection
Settings → [your name] → iCloud → Advanced Data Protection
This is the most important iCloud setting most people don’t know about. By default, Apple can access your iCloud data — including your iPhone backup — and hand it over on a legal order. With Advanced Data Protection enabled, you get end-to-end encryption for the majority of your iCloud data. Apple holds no keys.
What it protects: iCloud Backup, Photos, Notes, Reminders, Safari bookmarks, Voice Memos, iCloud Drive.
What it does not protect (requires third-party interoperability): Mail, Contacts, Calendar.
Requirements: Two-factor authentication on, all linked devices on iOS 16.3+, and you must set up a recovery method (recovery contact or recovery key). If you lose access with no recovery method, your data is permanently gone.
Further limit iCloud sync:
Also turn off categories you don’t want stored at Apple:
- Health — sensitive, turn off if you don’t want this in the cloud
- Photos — consider local backup via your computer as an alternative
If you have iCloud+: also enable Hide My Email and Private Relay (hides your IP address from websites in Safari).
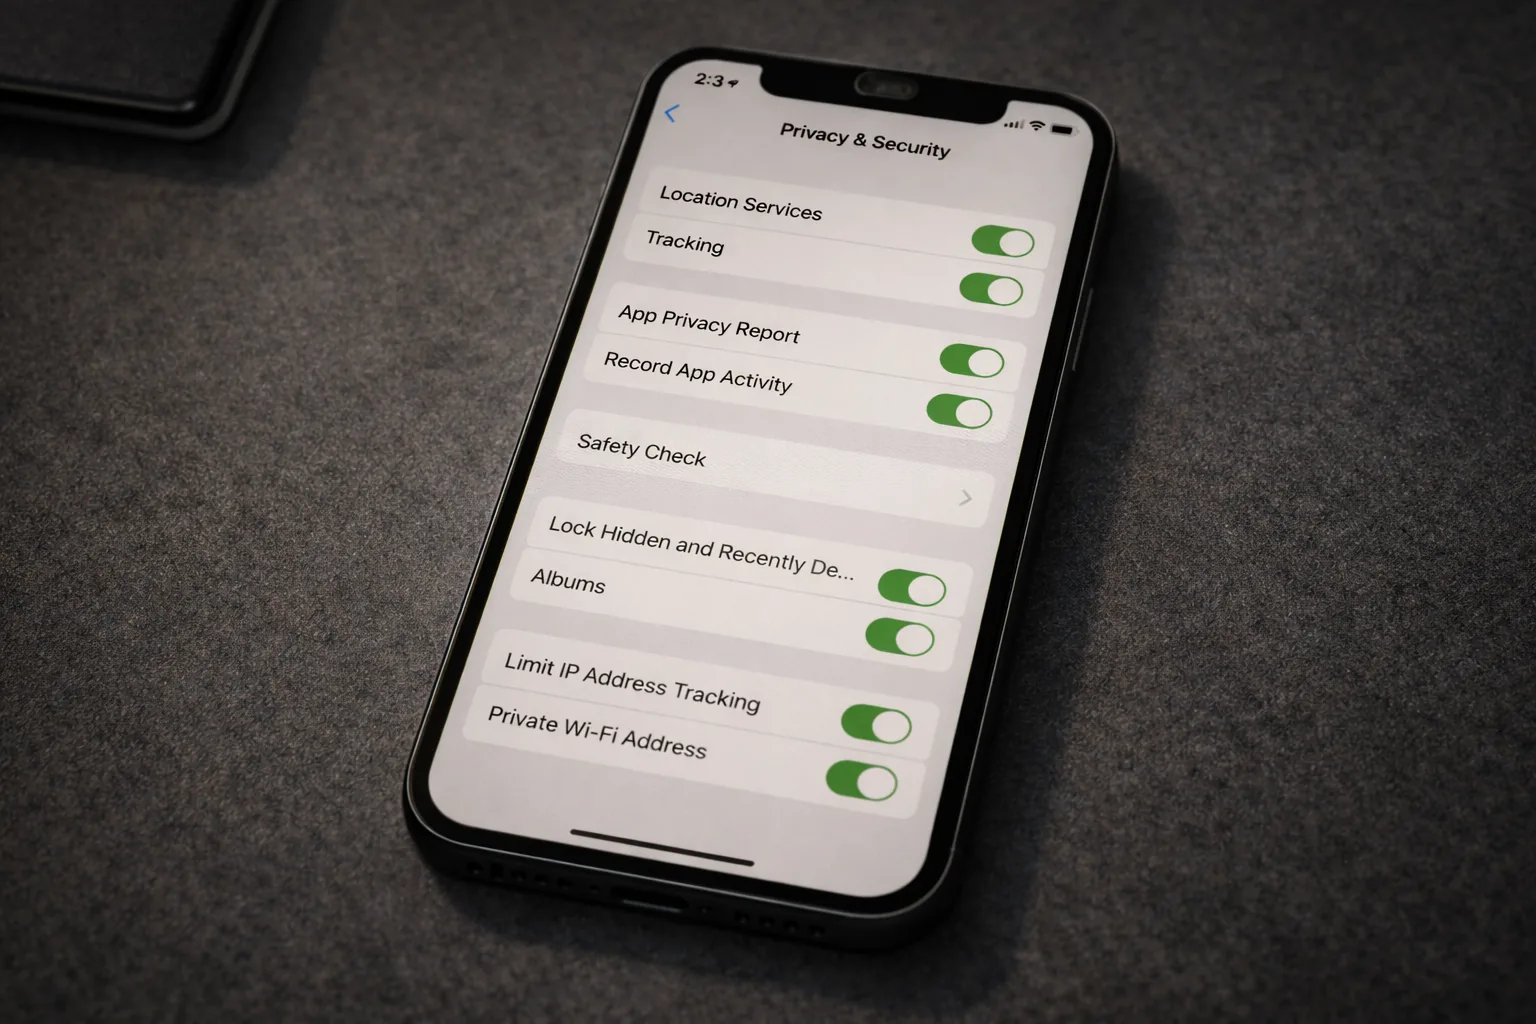
3. Disable app tracking
Settings → Privacy & Security → Tracking
Turn off “Allow Apps to Request to Track.” Apps can no longer ask to track you across other apps and websites.
This is the setting that advertising networks use to build your profile across multiple apps. Turning it off costs nothing, gives up nothing.
4. Clean up location services
Settings → Privacy & Security → Location Services
Go through every app. Most apps don’t need location access — or only “While Using the App,” never “Always.”
Critical settings:
- Turn off “Precise Location” for apps that don’t genuinely need it (news, weather, shopping)
- Change “Always” to “While Using the App” for everything that isn’t navigation
- Turn location off entirely for apps with no reason to have it
System Services (at the bottom of the list):
- Turn off “iPhone Analytics” and “Frequent Locations”
- Turn off “Apple Ads”
5. Audit app permissions
Settings → Privacy & Security
Work through: microphone, camera, contacts, photos, calendar, health. For each category you can see which apps have access.
Ask yourself for each app: does this app actually need this? A flashlight app doesn’t need your contacts. A game doesn’t need your microphone.
iOS 18: selective contacts access — Apps requesting contacts now get a choice dialog: you can share only specific contacts instead of your entire address book. Use this to give apps only the contacts they actually need.
iOS 18: lock and hide apps — Long-press any app on the home screen → “Require Face ID” or “Hide and Require Face ID.” Sensitive apps (banking, messaging) get biometric protection and can be made invisible in search results and notifications.
6. Turn off personalized ads
Settings → Privacy & Security → Apple Advertising → Personalized Ads: off
This limits how much Apple uses your behavior for ads in the App Store and Apple News.
7. App Privacy Report
Settings → Privacy & Security → App Privacy Report → Turn On App Privacy Report
Shows a 7-day log of:
- Which permissions each app used (location, microphone, camera, contacts) and when
- Which third-party domains each app contacted — including ad networks and data brokers
Use this to decide which permissions to revoke. Apps you never open that still query your location show up here immediately.
8. Limit Siri & Search
Settings → Siri & Search
- Turn off “Learn from This App” for apps you don’t want Siri to analyze
- Settings → Siri & Search → Siri History → delete regularly
Settings → Privacy & Security → Analytics & Improvements:
- Turn everything off: iPhone Analytics, iCloud Analytics, Improve Siri & Dictation, Share iPhone Analytics
9. Mail Privacy Protection
Settings → Mail → Privacy Protection → Protect Mail Activity: on
Does two things at once:
- Hides your IP address from senders — they cannot determine your location
- Prevents read receipts — tracking pixels in newsletters and marketing emails are pre-loaded through Apple’s proxy servers, so every email appears “opened” regardless of whether you actually read it
This defeats virtually all commercial email tracking. Available since iOS 15.
10. Strengthen Safari privacy
Settings → Safari
- Prevent Cross-Site Tracking: on
- Fraudulent Website Warning: on
- Privacy-Preserving Ad Measurement: off (sends no ad data, not even “privacy-friendly” data)
- Search Engine: change from Google to DuckDuckGo or Startpage
Also consider: regularly clear your Safari history and website data via Settings → Safari → Clear History and Website Data.
11. Replace apps
The biggest privacy improvement comes not from settings, but from which apps you use:
| Replace | With | Reason |
|---|---|---|
| Signal | End-to-end encrypted, no Meta metadata | |
| Google Chrome | Firefox or Brave | Less tracking, better privacy defaults |
| Google Maps | Organic Maps | Fully offline, no tracking |
| Gmail | Proton Mail | Encrypted, Switzerland |
| Google Drive | Proton Drive | End-to-end encrypted |
| iCloud Keychain | Bitwarden or KeePassXC | Open-source, no vendor lock-in |
Do this step by step. For most readers, Signal, a better browser, and a password manager are the best first replacements. Replacing everything at once increases the chance of reverting to old habits.
12. Lockdown Mode — for high risk
Settings → Privacy & Security → Lockdown Mode
Apple introduced Lockdown Mode specifically for journalists, activists, stalking or domestic violence victims, and people targeted by sophisticated attacks (NSO Pegasus, Cellebrite). It is the most aggressive security profile iOS offers.
What it does:
- Disables JIT compilation of JavaScript in Safari — regular JavaScript still runs, but the optimization layer that exploits abuse is turned off (can be re-enabled per site)
- Blocks incoming FaceTime calls from anyone you haven’t called yourself in the past 30 days
- Blocks most attachment types in Messages (images, video, and audio still work); link previews disabled
- Blocks all wired connections (USB, computers) when the device is locked — you must unlock first
- Disables 2G and 3G — protection against older cellular paths and downgrade attacks
- Automatically disconnects from non-secure Wi-Fi networks
- Blocks installation of configuration profiles (MDM) — protection against enrollment attacks
- Removes Shared Albums; blocks new invitations from unknowns
Caveat: Some apps and websites won’t work correctly. This is intended for people with a concretely elevated risk level — not for everyday use.
If you are in this profile, first ask yourself: can you use your current iPhone with Lockdown Mode, careful app choices, and strong account discipline safely enough for your actual situation?
Only then does it make sense to consider a platform switch. Moving to GrapheneOS can be worthwhile for some higher-risk profiles, but only if the extra friction, app compatibility, and maintenance genuinely fit your daily use.
Priority order
If you don’t want to do everything at once and want to start with the highest impact:
- Disable app tracking — 30 seconds, big effect
- Clean up location permissions — 5 minutes
- Audit app permissions — 10 minutes
- Safari: enable tracking protection, switch search engine — 2 minutes
- Turn off personalized ads — 30 seconds
- Replace apps — gradually, start with Signal
What this doesn’t fix
These settings reduce tracking, but iOS remains Apple’s closed ecosystem. Apple has access to your device ID, your purchases, and your iCloud data. You’re trusting Apple as a company.
For higher profiles — journalists, activists, people who need to work truly anonymously — these settings are a starting point, not an endpoint.
What is usually still missing:
- stricter account and contact discipline
- better separation between everyday and sensitive activities
- an explicit choice about whether to stay on iPhone or whether a different platform is genuinely manageable
A practical rule of thumb:
- low-friction normal user: this guide is usually enough
- balanced privacy-aware: combine this guide with app replacement and account discipline
- higher-risk: use this guide as a base layer, then read the relevant threat profile
Next step
Go further
- Security as a habit — build durable habits once your phone settings are in order
- Android privacy without a custom ROM — the same approach for stock Android
- Which VPN should you choose? — VPN as a supplement to these settings
Profiles
- The normal baseline — basic steps for everyone
Reviews
- Signal and Molly review — the messaging app that replaces WhatsApp
- Organic Maps review — replacing Google Maps on iPhone